Growing up, I always knew when we were approaching Christmas time because my nana would suddenly baking hundreds and hundreds of shortbread cookies. They were put in little baggies for sale at the church bazaar or gifted to friends in tins or simply put out on plates for snacking after dinner (or after school…or with breakfast #nojudgement). She only ever made them at Christmas and usually decorated them with festive red and green candied cherries (or chocolate sprinkles for her cherry-hating granddaughter – aka me).

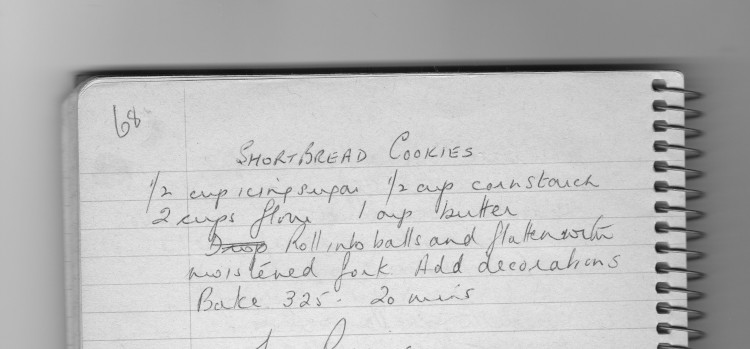
Because she always baked from memory we thought all her Christmas cookie recipes were lost forever until I found an old notebook packed away in a box a couple of years ago. This year, as after my nana passed away, I decided I wanted to make an extra special Christmas decoration to honour both her and her famous cookies.

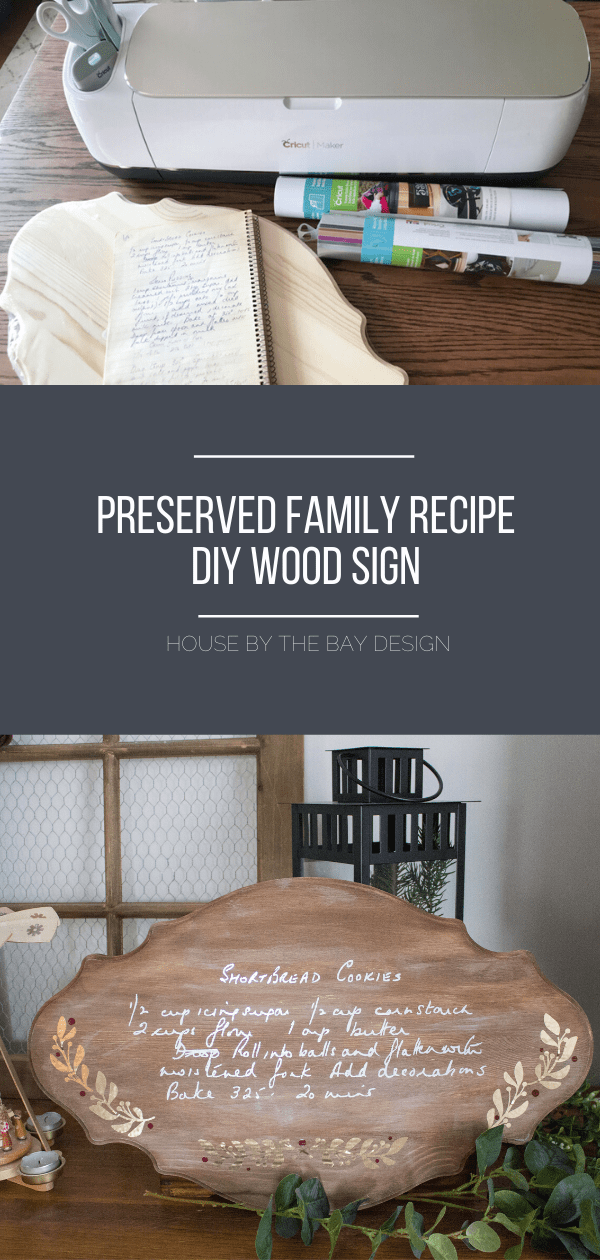
The method I used to create this sign can be used for any medium. I used a wood sign to display my nana’s recipe but you could also apply your cut vinyl to a piece of scrapbook paper and frame it – the possibilities are endless!
Handwritten Recipe Wall Art Materials

To preserve a handwritten family recipe forever on a wood sign you will need the following:
- Your favourite handwritten recipe (or note!)
- Unfinished wood plaque
- Paint and/or stain of your choice (I used DecoArt Americana Decor Chalky Finish paint in Yesteryear along with Vintage Effect Wash in Brown)
- Permanent outdoor vinyl
- Scanner (I use my little office inkjet, a Canon Pixma)
- Image editing tool (I use GIMP which is essentially a free photoshop)
- Cricut Maker & Design Space
Scan the Recipe/Note
This is probably the most time consuming part of the entire process. Scan your handwritten recipe (or note) at the highest possible resolution. Try scanning in colour and black and white to see which results in the best image with the most contrast between the writing and the background.
If your recipe/note is written on blank paper you might able to skip the next bit and go straight to the Cricut Design Space, but if you have any pattern or background colour doing a little photo editing first is essential.
Edit the Image for Clarity & Contrast

Open your scan in an image editing program like Photoshop or Gimp and make the following edits:
- Crop the image to eliminate unnecessary blank space
- Create a transparent background by deleting all parts of the image that are not part of the handwriting (I find the colour select tool is helpful for this)
- Clean up any noise around the letters by zooming in and using the eraser to smooth the edges – this is especially important if your handwriting is on lined paper
- Play around with the colour and contrast settings until your lettering looks smooth and has good contrast. At this point I even used the marker tool to fill in some spots in the letters that didn’t scan very well
Once you’re happy with the way the image looks, you’re ready to get cutting!
Create a Cut File in Cricut Design Space

- Open Cricut Design Space and start a new project
- Click “Upload” and then upload your image and select the image type (I picked “Complex” for mine)
- Use the Cricut tool to select all the background areas to remove them and then click “Save as a cut image”
Your file will then be added to the workspace where you can scale it to any size and cut in your desired material. I used a permanent outdoor vinyl for my sign and added a few decorative leaves and berries in gold foil and burgundy.
Apply to the Sign/Background

I wanted to give my wood plaque a more weathered look so I applied brown stain and then dry brushed on some light grey chalk paint. Once it was completely dry I used transfer paper to add the vinyl.